Factory Reset
Step-by-step guide to resetting your BRICK QUIPS!™
Warning
Following these directions will erase all settings and data from your device.
Disconnect your BRICK QUIPS!™ device from power.
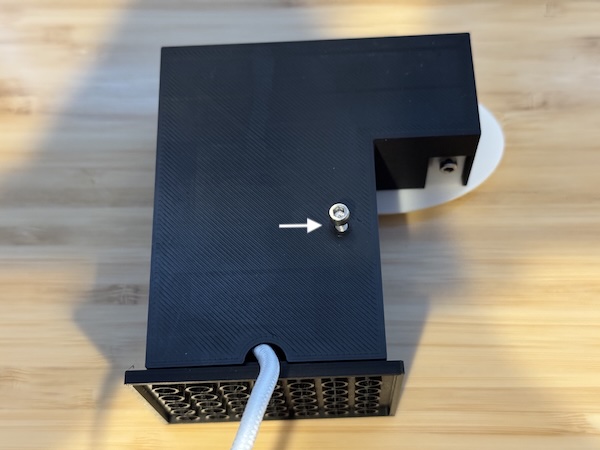
Note the position of the USB cable as it exits the bottom of the device. Later, you will need to return the cable to this location when you re-assemble the device.
Using an M3 metric allen wrench, remove the screw from the back of the device.
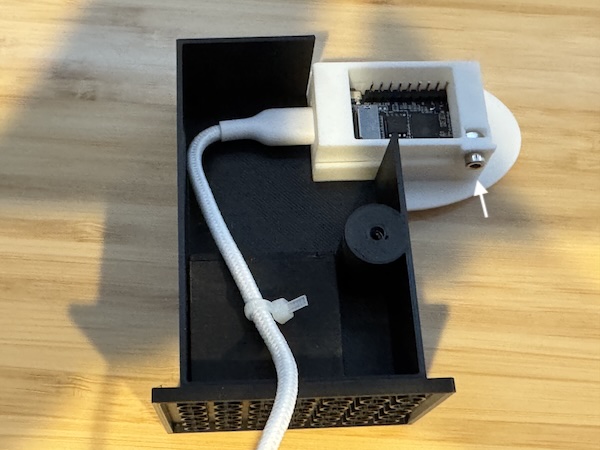
Carefully remove the back of the BRICK QUIPS!™ device. Note that the hole which secured the back of the device has a small nut inside. This nut can fall out. You may want to cover the side access to prevent it from falling out.
Note that the screw on the device holder is secured by a small nut. When you loosen the screw, this nut can easily fall out. You may want to cover this nut with a piece of tape to prevent it from moving.
Remove the device holder screw using an M3 metric allen wrench.
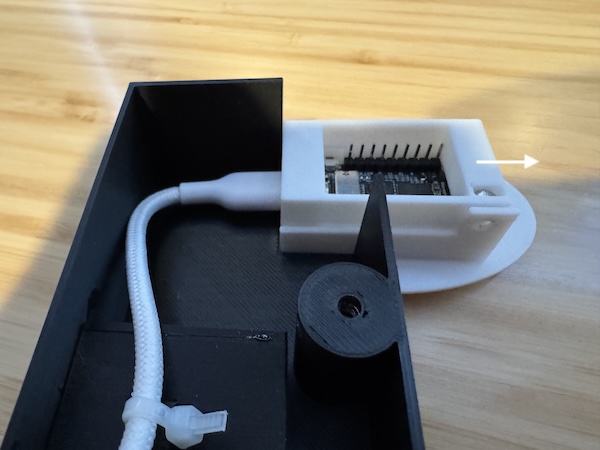
Carefully slide the screen holder to the right until the hole is exposed.
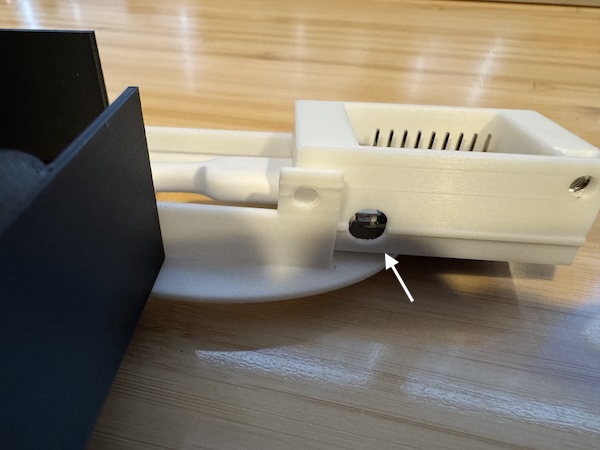
Find a small non-conductive (not metal) probe that you can use to press the button in the small hole. The cap of a pen might work.
Plug in the device.
Without touching any of the electronics inside the device, use the non-conductive probe to press the button 3 times.
Unplug the power from the device.
Re-assemble the device in reverse order, starting by carefully sliding the screen back to the left.
Double check that the nut has not fallen out of the holder. Replace it in the hole if it has fallen out.
Re-insert the screen holding screw. It does not need to be super tight, just secure.
Double check that the nut which holds the back of the device on has not fallen out. If it has, re-insert it.
Attach the back of the device, making sure the USB cable slides out the hole at the bottom.
Insert the M3 bolt to secure the back of the device. Do not over-tighten — just turn it far enough that the nut is secure.
Still need help? Send email to support @ brickquips.com
Note: We use AI‑assisted tools to help draft some text, code, and visual assets. All outputs are reviewed and edited by a human before use, we are fully responsible for the final product.